Next.js14とGitHub Pagesでブログを作ってみる: 基本設定
October 30, 2024
2024年の後半はNext.js12から14にマイグレーションするプロジェクトで、App RouterとPages Routerの並行だったり、12と14のレンダリング方式の相違だったりでReactの基礎とNext.jsの理解にかなり役立つ経験ができた。せっかくの機会なので頭を14に切り替えたく14を使ってMarkdownブログを作ってみた。
今回GitHub Pagesに静的サイト[1]でデプロイすることでサーバコンポーネント(Server Components, SC)とクライアントコンポーネント(Client Components, CC)の分離の練習にもなった。今後は検索機能なども追加していくつもりだ。それでは早速GitHubの設定から始める。
tools
* Next.js 14
* TypeScript
* TailwindCSS
* GitHub Pages
GitHub 設定
GitHub Pages用のリポジトリはルールとして
<user>.github.ioまたは
<organization>.github.ioでリポジトリの名前をつける必要がある。

変なリポジトリ名にしてあるのは、私は既にGitHub Pagesを作ったからで、
このポストのコードはプロジェクトサイト[2]としてデプロイする。
⇒ 正しくは、gyute.github.ioと入力
リポジトリ名をルール通り作ること[2]で、GitHubが自動でリポジトリ名をURLにしてホスティングしてくれる。
リポジトリの作成が完了したら、作成されたリポジトリに移動し、Settings > Pagesを選択する。
https://github.com/<user>/<user>.github.io/settings/pages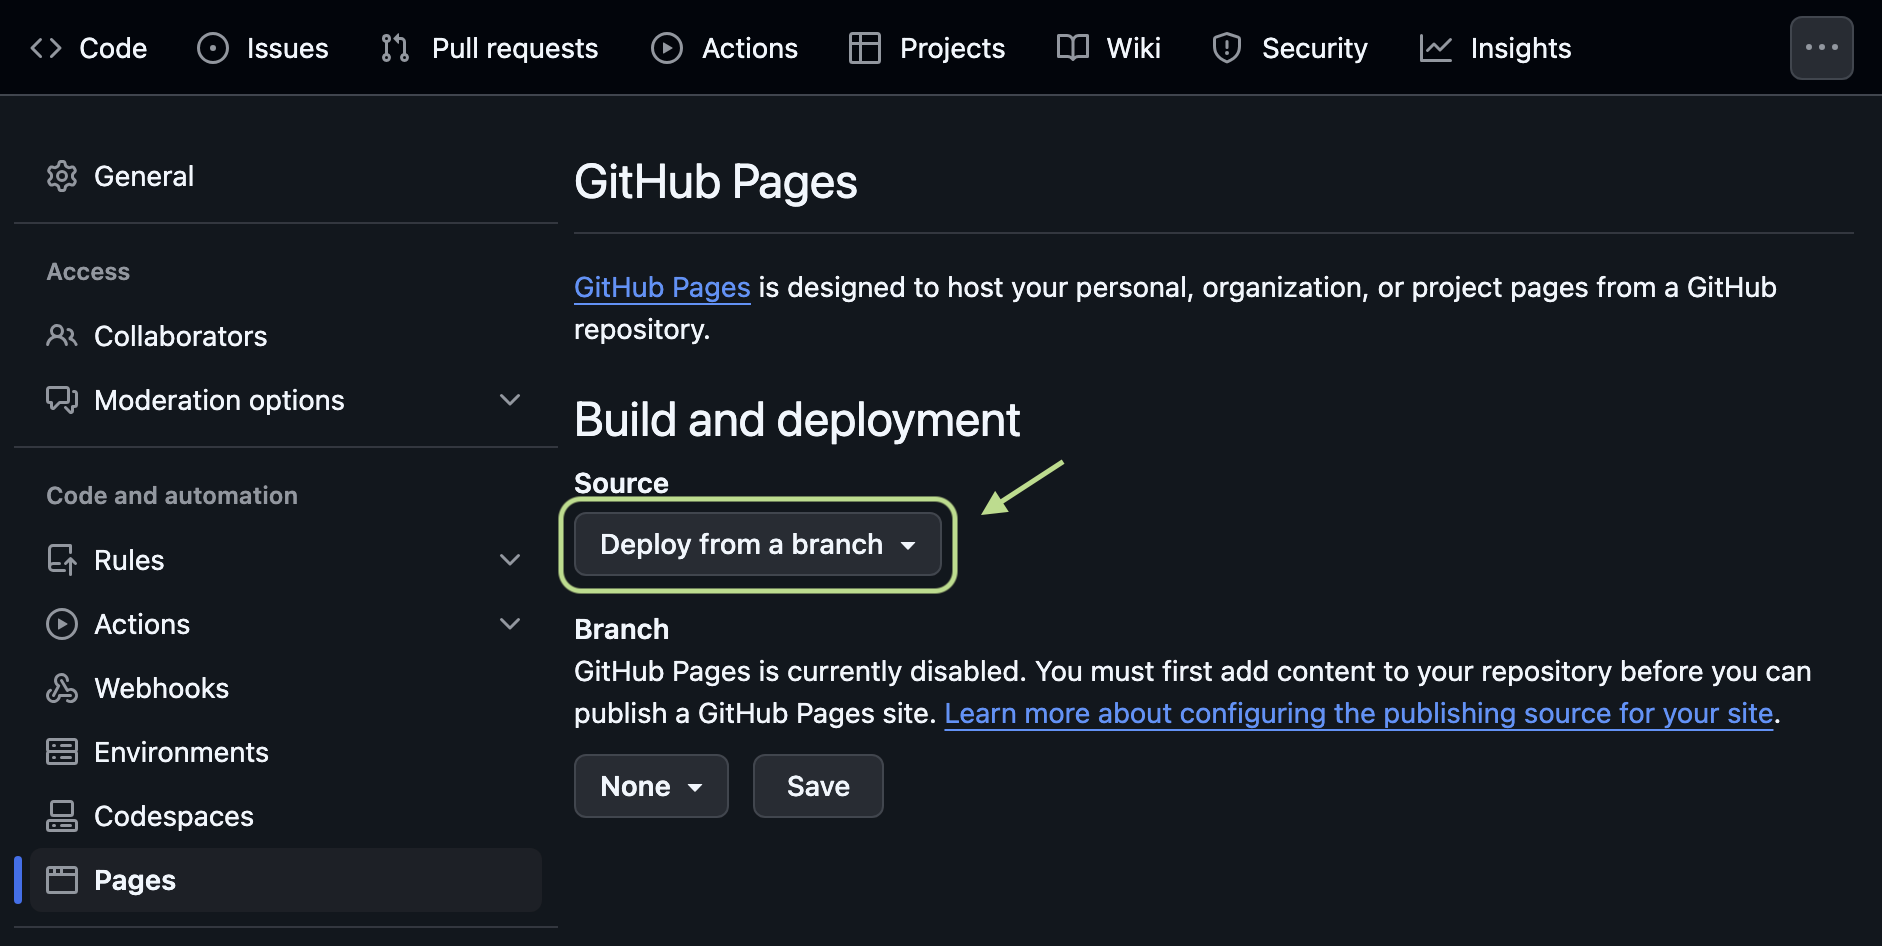
そしてBuild and deploymentのSourceをGitHub Actionsに変更し、Next.jsのConfigureをクリックする。
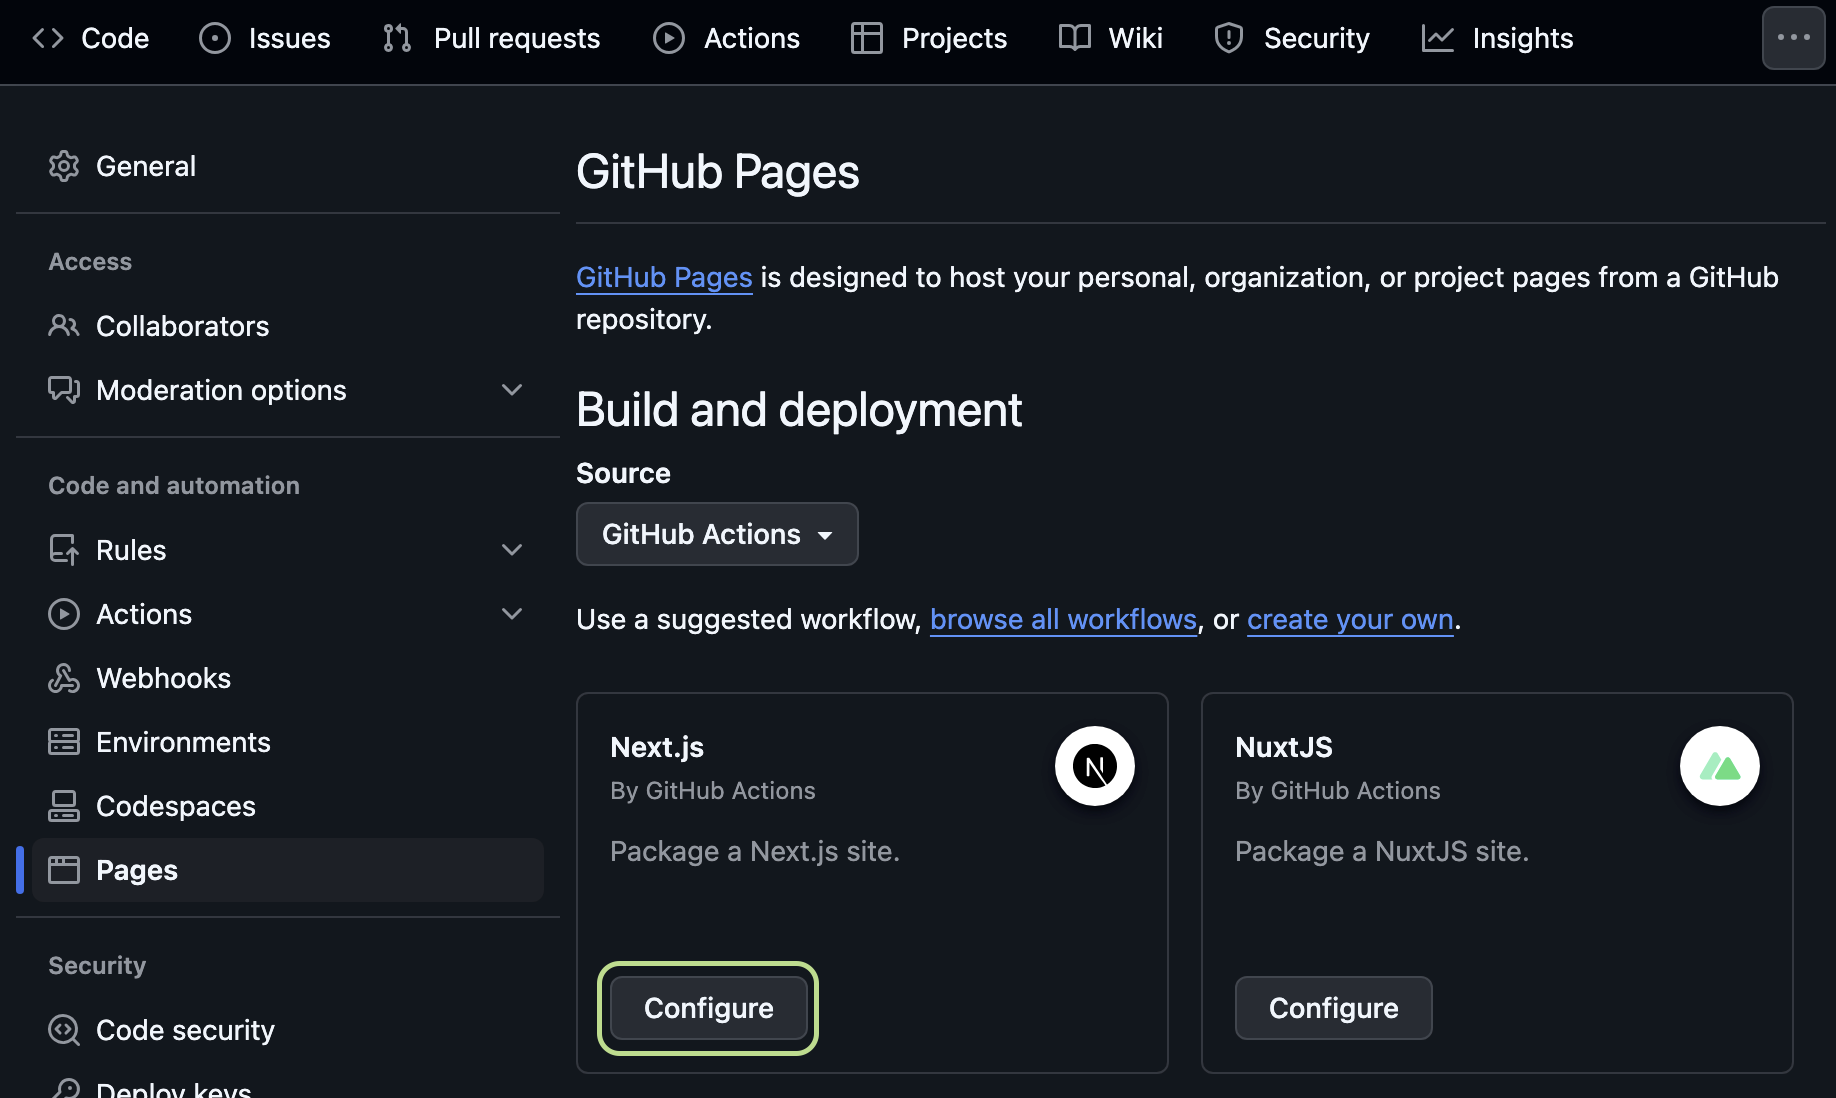
すると、
<user>.github.io/.github/workflows/nextjs.ymlが作成されるので右上のCommit changes...をクリック、コミットメッセージを入力してコミットする。
これでGitHubでの設定は完了。この時点ではhttps://<user>.github.ioにアクセスしても404が表示されるだけ。
Next.js プロジェクト作成
ターミナルで作業予定のディレクトリに移動し、
npx create-next-app@14を入力、初期設定を行う。
Need to install the following packages:
create-next-app@14.2.16
Ok to proceed? (y) y
✔ What is your project named? … <user>.github.io
✔ Would you like to use TypeScript? … Yes
✔ Would you like to use ESLint? … Yes
✔ Would you like to use Tailwind CSS? … Yes
✔ Would you like to use `src/` directory? … No
✔ Would you like to use App Router? (recommended) … Yes
✔ Would you like to customize the default import alias (@/*)? … No今後のことも考えてプロジェクト名は<user>.github.ioと入力。その後は、Yes > Yes > Yes > No > Yes > Noに選択したが、デフォルトのままなのでエンターを押し続けるだけ。TypeScript、ESLint、Tailwind CSS、App Routerは全部使うし、src/とcustomize import aliasは使わない。
create-next-appのパッケージインストールが終わったら、作られたディレクトリに移動し、git設定を行う。まずcreate-next-appが勝手にコミットを追加するので.gitの削除から。
rm -rf ./.git
git init
git config --global init.defaultBranch main
git remote add origin git@github.com:<user>/<user>.github.io
git pull origin main --rebaseそして、不要なファイルとコードを削除する。
rm -rf app/favicon.ico app/fontsapp/globals.css
@tailwind base;
@tailwind components;
@tailwind utilities;app/layout.tsx
import "./globals.css";
export default function RootLayout({
children,
}: Readonly<{
children: React.ReactNode;
}>) {
return (
<html lang="en">
<body>{children}</body>
</html>
);
}app/page.tsx
export default function Home() {
return <></>;
}これで一通りクリーンな状態になれたと思う[commit]。そしてここからはGitHubのビルドが成功するのでページの確認ができるようになる。
dev pkg インストール
必要最低限だと思われるパッケージをインストールする。
npm install -D prettier prettier-plugin-tailwindcss autoprefixer eslint-plugin-import簡単なconfigファイルも追加。
.eslintrc.json
{
"extends": ["next/core-web-vitals", "next/typescript"],
"plugins": ["import"],
"rules": {
"import/order": [
"warn",
{
"groups": [
"builtin",
"external",
"internal",
["parent", "sibling", "index"]
],
"alphabetize": {
"order": "asc",
"caseInsensitive": true
},
"newlines-between": "always"
}
]
}
}.prettierrc
{
"plugins": ["prettier-plugin-tailwindcss"]
}icons、Markdownなどのパッケージも一気に入れておくと楽だと思うが、どこに使われるのかを意識せずにパッケージを入れるのはよくないと思うので、必要な時に入れることにする。
現在のディレクトリ構成は以下のようになる。
.
├── README.md
├── app
│ ├── globals.css
│ ├── layout.tsx
│ └── page.tsx
├── next-env.d.ts
├── next.config.mjs
├── node_modules
├── package-lock.json
├── package.json
├── postcss.config.mjs
├── tailwind.config.ts
└── tsconfig.json次のポストで実際にMarkdownを使う簡単なブログを作ってみよう。
1: Static RenderingとStatic Site Generation(SSG) return ↩
2: 違う名前でリポジトリ名をすることもできるが、その場合は、
https://<user>.github.io/<repository-name>のように<user>.github.ioは固定で、<repository-name>がパスとして追加される。これをプロジェクトサイト(Project site)と言う。return ↩